My Hero Academia: Episodes 17 and 18 (Season 2 Episodes 4 and 5)
Horse riding is a well-known nightmare of all animators. A human cavalry battle only makes it harder for them! Thankfully HeroAca has a very talented team who keeps doing a very solid job. Let’s examine the teams who pulled off these last two exciting episodes.
Episode 17
StoryboardStoryboard (絵コンテ, ekonte): The blueprints of animation. A series of usually simple drawings serving as anime's visual script, drawn on special sheets with fields for the animation cut number, notes for the staff and the matching lines of dialogue.: Kou Matsuo
Episode directionEpisode Direction (演出, enshutsu): A creative but also coordinative task, as it entails supervising the many departments and artists involved in the production of an episode – approving animation layouts alongside the Animation Director, overseeing the work of the photography team, the art department, CG staff... The role also exists in movies, refering to the individuals similarly in charge of segments of the film.: Takuhiro Kadochi
Chief Animation DirectionAnimation Direction (作画監督, sakuga kantoku): The artists supervising the quality and consistency of the animation itself. They might correct cuts that deviate from the designs too much if they see it fit, but their job is mostly to ensure the motion is up to par while not looking too rough. Plenty of specialized Animation Direction roles exist – mecha, effects, creatures, all focused in one particular recurring element.: Yoshihiko Umakoshi
Animation DirectionAnimation Direction (作画監督, sakuga kantoku): The artists supervising the quality and consistency of the animation itself. They might correct cuts that deviate from the designs too much if they see it fit, but their job is mostly to ensure the motion is up to par while not looking too rough. Plenty of specialized Animation Direction roles exist – mecha, effects, creatures, all focused in one particular recurring element.: Kazumi Inadome, Yoshiyuki Ito
Key AnimationKey Animation (原画, genga): These artists draw the pivotal moments within the animation, basically defining the motion without actually completing the cut. The anime industry is known for allowing these individual artists lots of room to express their own style.: Kazumi Inadome, Yuko Dangi, Masaya Sekizaki, Ayaka Kawai, Yuka Shibata, Naoto Uchida, Aiko Oura, Katsuya Shigehara, Fujiko Aoyagi, Tomoya Atsumi, Tomoyuki Kameda, Toshiko Baba, Kimi Kurata, Mie Oishi, Norie Kanekubo, Chika Ishida, Nobuki Nakamura, Haruka Iida, Kari Higuchi, Sho Omachi, Kyoko Kotani, Daisuke Kamei, Kazuhiro Oki, Eiji Komatsu, Aya Takano
Quite a luxurious staff list was assembled for this episode. Animation directors Kazumi Inadome and Yoshiyuki Ito have been work partners (and perhaps even more?) since the original Fullmetal Alchemist TV series in 2003, for which Ito did the character designs. It was Ito himself who introduced the original manga to BONES’ president Masahiko Minami, with whom he’d been regularly collaborating since Mobile Fighter G Gundam days at Sunrise. Even though he wasn’t interested in handled the designs for the show, he was appointed and took the job as an act of responsibility. If it weren’t for his actions, Fullmetal Alchemist might have never become the hit it was. He’s currently one of BONES’ most prolific character designers, with shows like Soul Eater, Star Driver, Space Dandy and Concrete Revolutio under his belt. Often overshadowed by Ito, Inadome has been supporting him during all of his major projects. One exception was UN-GO – not coincidentally directed by Fullmetal Alchemist‘s Seiji Mizushima – where she was the one in charge of the animation character designs and chief animation directionAnimation Direction (作画監督, sakuga kantoku): The artists supervising the quality and consistency of the animation itself. They might correct cuts that deviate from the designs too much if they see it fit, but their job is mostly to ensure the motion is up to par while not looking too rough. Plenty of specialized Animation Direction roles exist – mecha, effects, creatures, all focused in one particular recurring element. together with Yuko Yazaki and Hiroko Yaguchi. This trio of animators was unofficially called Ito Girls. And as that title suggests, she’s an animator heavily influenced by and compatible with Ito’s sharp drawings style.
Back to My Hero Academia, the Inadome-Ito duo episode was pleasant to look at and very polished. What surprised me was that Ito’s own style wasn’t all that perceptible in the drawings. He has become a very idiosyncratic animator whose work is easy to spot, so I expected to see art similar to his magazine illustrations, but thankfully it looks like he’s able to restrain himself when needed.
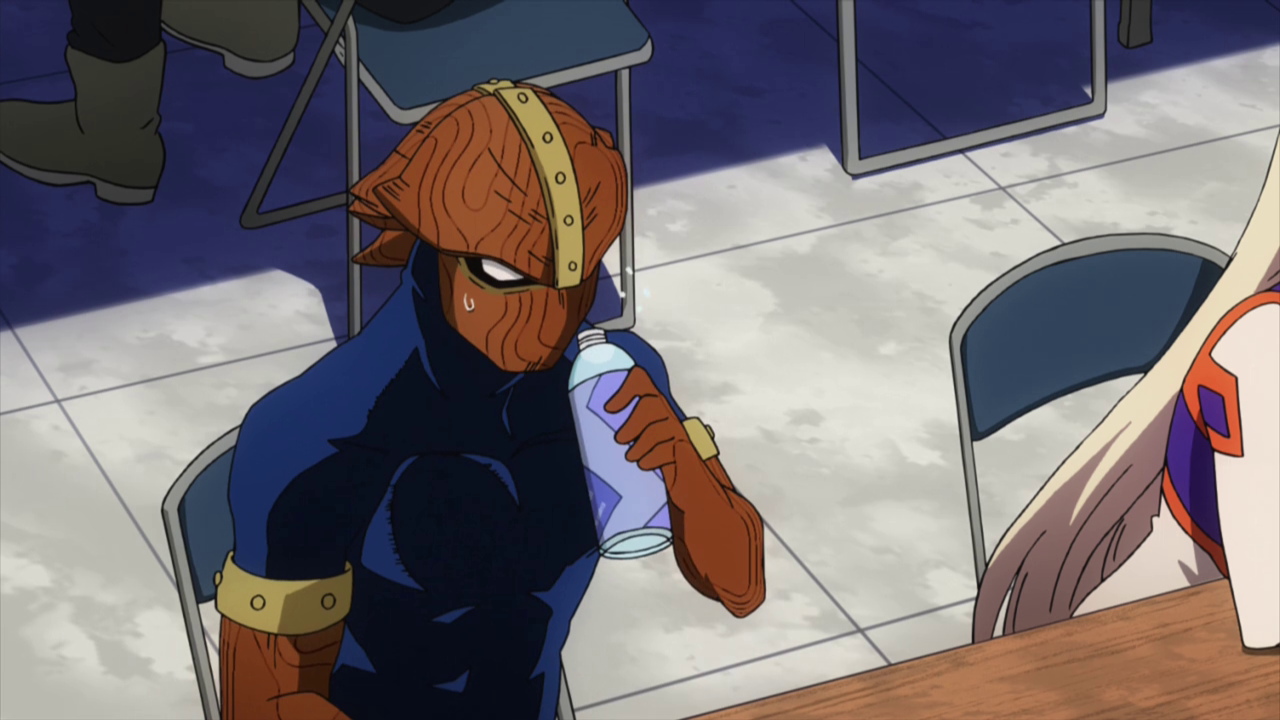
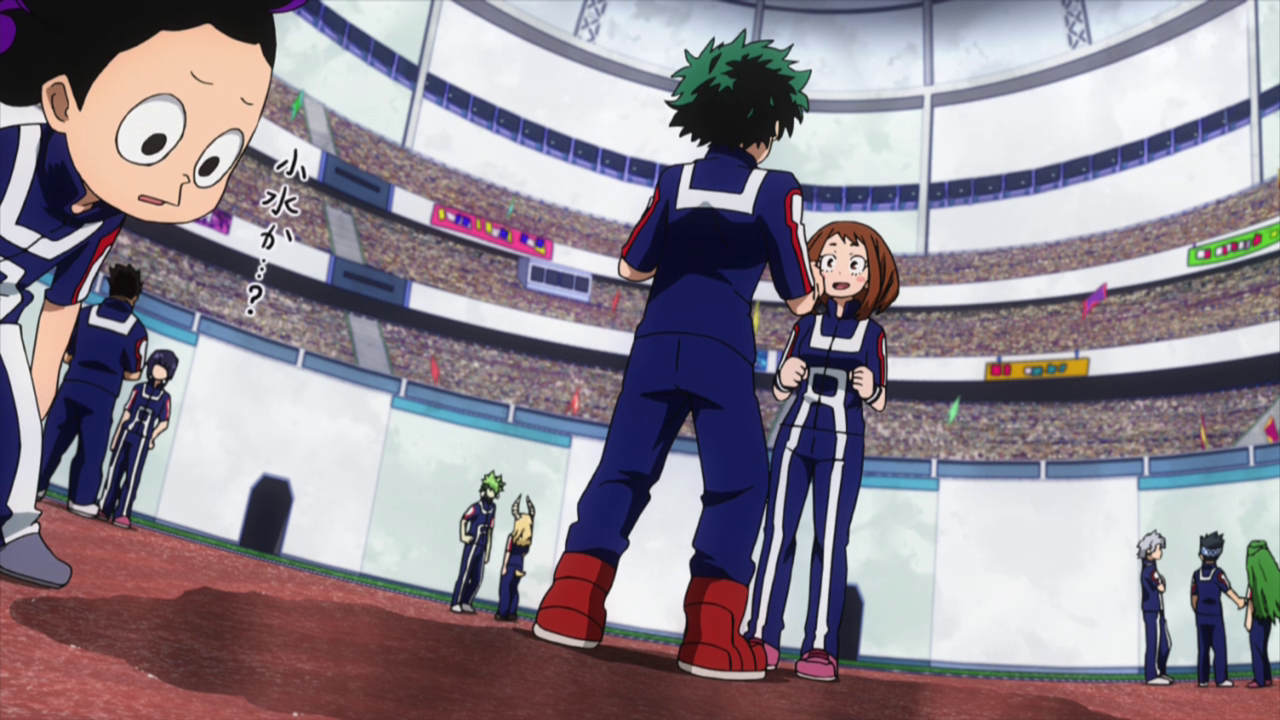
Episode 15’s Kou Matsuo returned as the storyboardStoryboard (絵コンテ, ekonte): The blueprints of animation. A series of usually simple drawings serving as anime's visual script, drawn on special sheets with fields for the animation cut number, notes for the staff and the matching lines of dialogue. artist, and I have to say I’ve become a fan of his action boards here. The scene where Bakugo attacks Deku’s team was the highlight; tightly composed, well animated and perfectly synchronized with the background music. I also liked some minor details, like Shinrin Kamui accidentally attempting to drink through his mask or yet another look into Mineta’s dirty mind. Episode director Takuhiro Kadochi is one of BONES’ former production assistants. He had his episode directionEpisode Direction (演出, enshutsu): A creative but also coordinative task, as it entails supervising the many departments and artists involved in the production of an episode – approving animation layouts alongside the Animation Director, overseeing the work of the photography team, the art department, CG staff... The role also exists in movies, refering to the individuals similarly in charge of segments of the film. debut quite recently on Show By Rock! #‘s ninth episode, which he handled together with fellow former production assistantProduction Assistant (制作進行, Seisaku Shinkou): Effectively the lowest ranking 'producer' role, and yet an essential cog in the system. They check and carry around the materials, and contact the dozens upon dozens of artists required to get an episode finished. Usually handling multiple episodes of the shows they're involved with. Yuji Oya. Therefore, this episode of My Hero Academia was the first time he did episode directionEpisode Direction (演出, enshutsu): A creative but also coordinative task, as it entails supervising the many departments and artists involved in the production of an episode – approving animation layouts alongside the Animation Director, overseeing the work of the photography team, the art department, CG staff... The role also exists in movies, refering to the individuals similarly in charge of segments of the film. all by himself!
On the animation front, this episode was clearly saving up energy. The action bits were fairly well done, but you it was obvious the real deal was coming up next. Mecha specialist Eiji Komatsu presumably animated one of the scenes featuring Hatsume’s babies. Animator Aya Takano, known for her Your Lie in April endings, also appeared in the key animationKey Animation (原画, genga): These artists draw the pivotal moments within the animation, basically defining the motion without actually completing the cut. The anime industry is known for allowing these individual artists lots of room to express their own style. list. Her presence is surprising as she’s currently supposed to be working on Kimi no Koe o Todoketai movie. Who animated the highlights you ask? I don’t have an answer for once, but that’s how the industry works!
Episode 18
StoryboardStoryboard (絵コンテ, ekonte): The blueprints of animation. A series of usually simple drawings serving as anime's visual script, drawn on special sheets with fields for the animation cut number, notes for the staff and the matching lines of dialogue.: Ken Otsuka
Episode directionEpisode Direction (演出, enshutsu): A creative but also coordinative task, as it entails supervising the many departments and artists involved in the production of an episode – approving animation layouts alongside the Animation Director, overseeing the work of the photography team, the art department, CG staff... The role also exists in movies, refering to the individuals similarly in charge of segments of the film.: Setsumu Dogawa
Chief Animation DirectionAnimation Direction (作画監督, sakuga kantoku): The artists supervising the quality and consistency of the animation itself. They might correct cuts that deviate from the designs too much if they see it fit, but their job is mostly to ensure the motion is up to par while not looking too rough. Plenty of specialized Animation Direction roles exist – mecha, effects, creatures, all focused in one particular recurring element.: Yoshihiko Umakoshi
Animation DirectionAnimation Direction (作画監督, sakuga kantoku): The artists supervising the quality and consistency of the animation itself. They might correct cuts that deviate from the designs too much if they see it fit, but their job is mostly to ensure the motion is up to par while not looking too rough. Plenty of specialized Animation Direction roles exist – mecha, effects, creatures, all focused in one particular recurring element.: Takashi Mitani, Hitomi Odashima
Animation DirectionAnimation Direction (作画監督, sakuga kantoku): The artists supervising the quality and consistency of the animation itself. They might correct cuts that deviate from the designs too much if they see it fit, but their job is mostly to ensure the motion is up to par while not looking too rough. Plenty of specialized Animation Direction roles exist – mecha, effects, creatures, all focused in one particular recurring element. Assistants: Atsushi Hasebe, Tsunenori Saito
Key AnimationKey Animation (原画, genga): These artists draw the pivotal moments within the animation, basically defining the motion without actually completing the cut. The anime industry is known for allowing these individual artists lots of room to express their own style.: Takashi Mitani, Hitomi Odashima, Takuya Yoshihara, Yutaro Suzuki, Ayako Horiuchi, Erika Okada, Kei Hyodo, Yukari Kizaki, Masaya Sekizaki, Kosuke Kato, Saori Surugi, Keiko Takano, Minami Sakura, Takuma Nakamura, Yuki Sato, Yuka Iwabe, Tomomi Noda, Naoto Uchida, Yoshino Matsumoto, Tomoya Kosakai, Junko Matsushita, Yuka Shibata, Haruna Hashimoto
Amongst this team with very experienced veteran animation directors, this pair stands out as relative newbies. Takashi Mitani, the supervisor of the first half of the episode, is an animator with origins in the Osaka-based subcontractor studio Wanpack. He left them in 2015, then joined BONES’ C studio and shortly after that had his animation directionAnimation Direction (作画監督, sakuga kantoku): The artists supervising the quality and consistency of the animation itself. They might correct cuts that deviate from the designs too much if they see it fit, but their job is mostly to ensure the motion is up to par while not looking too rough. Plenty of specialized Animation Direction roles exist – mecha, effects, creatures, all focused in one particular recurring element. debut on Concrete Revolutio. He’s still inexperienced on that role so his work is understandably flawed in this regard; it’s always important to keep in mind that key animationKey Animation (原画, genga): These artists draw the pivotal moments within the animation, basically defining the motion without actually completing the cut. The anime industry is known for allowing these individual artists lots of room to express their own style. and animation directionAnimation Direction (作画監督, sakuga kantoku): The artists supervising the quality and consistency of the animation itself. They might correct cuts that deviate from the designs too much if they see it fit, but their job is mostly to ensure the motion is up to par while not looking too rough. Plenty of specialized Animation Direction roles exist – mecha, effects, creatures, all focused in one particular recurring element. entail entirely different sets of skills, so even very talented people can take a while to acclimate. That inexperience showed at the beginning of the episode, which looked a lot rougher than we’re used to from this season. He’s however much more promising as a key animator. Some may remember his scene from Mob Psycho 100, and this time he presumably animated one of the highlights shown below.
Hitomi Odashima, who handled the second half, entered the industry as an inbetweener in 2005. Her first big work was on Soul Eater, where she was – similarly to Kazumi Inadome – credited as a main animator. Among many other tasks, she handled animation directionAnimation Direction (作画監督, sakuga kantoku): The artists supervising the quality and consistency of the animation itself. They might correct cuts that deviate from the designs too much if they see it fit, but their job is mostly to ensure the motion is up to par while not looking too rough. Plenty of specialized Animation Direction roles exist – mecha, effects, creatures, all focused in one particular recurring element. on episode 21, which was a great display of animation prowess and memorable facial expressions. In 2013 she had her debut as a character designer on Jewelpet Happiness. She’s now a freelance animator who regularly returns to BONES’ C studio. In My Hero Academia S2 she has been assisting Yoshihiko Umakoshi with character designs and even drew the ending.
Mecha animation legend Ken Otsuka storyboarded this episode. After overworking himself for the last few years, to the point of doing mechanical animation directionAnimation Direction (作画監督, sakuga kantoku): The artists supervising the quality and consistency of the animation itself. They might correct cuts that deviate from the designs too much if they see it fit, but their job is mostly to ensure the motion is up to par while not looking too rough. Plenty of specialized Animation Direction roles exist – mecha, effects, creatures, all focused in one particular recurring element. on multiple shows at once, he took a well-deserved break after Concrete Revolutio‘s production ended. Complete vacation would be out of question since he’s still got to eat of course. However, drawing storyboards isn’t as exhausting as animation and pays better! It’s not as if he has plans to quit animating altogether, since he genuinely is one of the pillars currently sustaining the dying art of 2D robots. He’s currently also working as a main animator on the upcoming Eureka Seven: Hi-Evolution movie series, but even then the sheer amount of work he did in 2013-2016 is incomparable. Health is always the most important factor in any job, and even more so in this industry where people die from overworking.
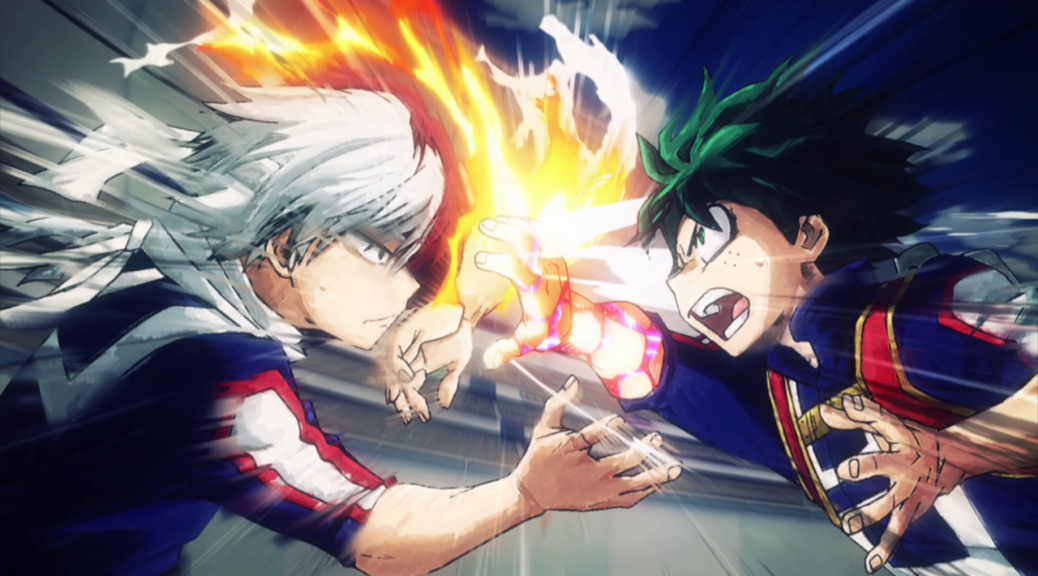
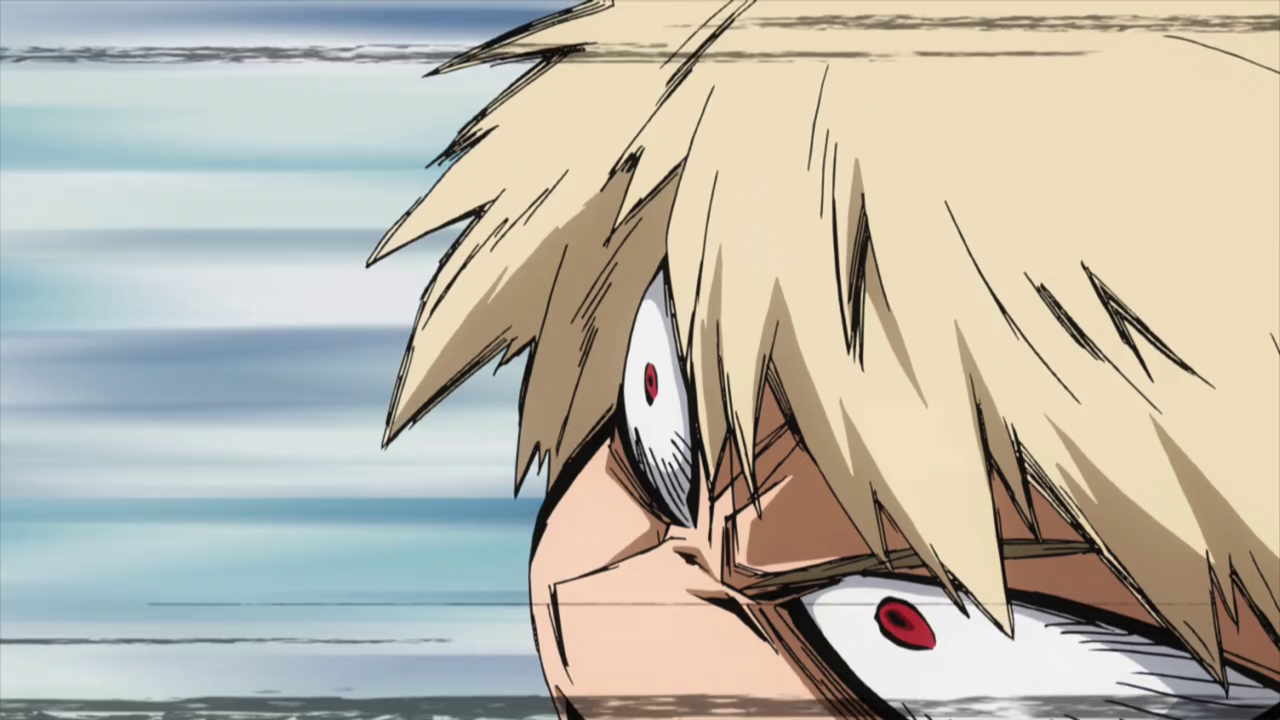
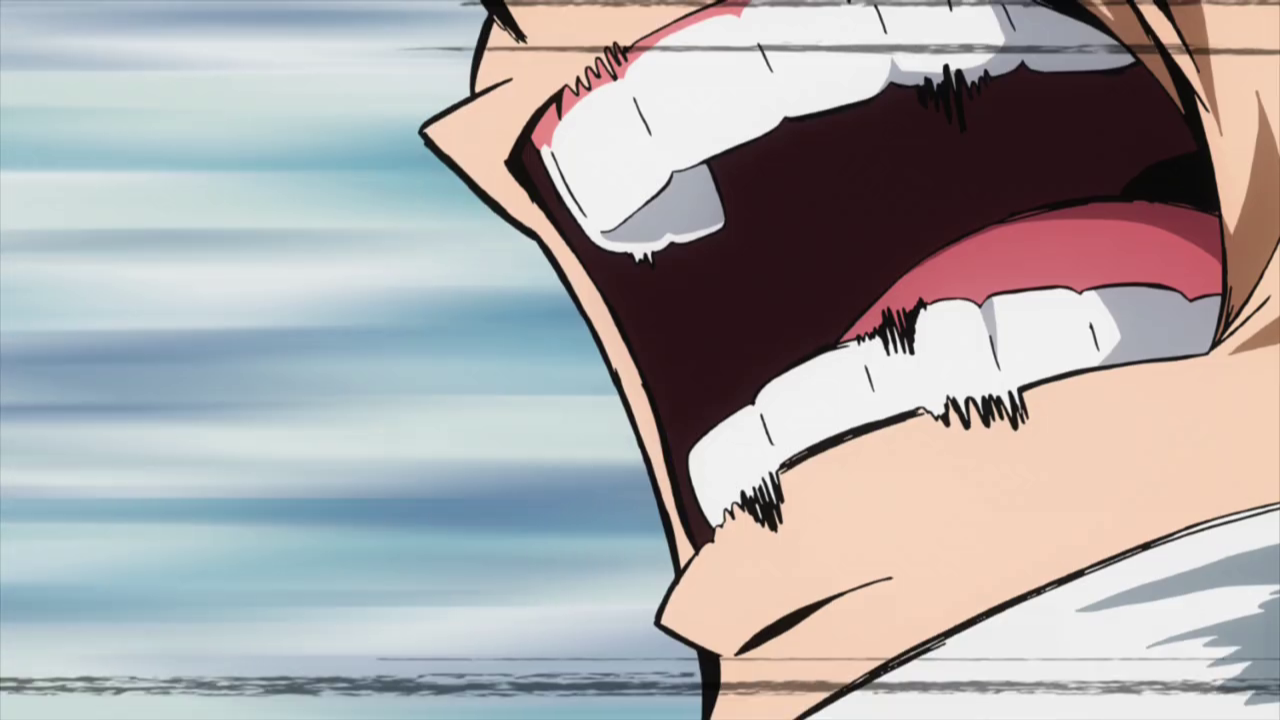
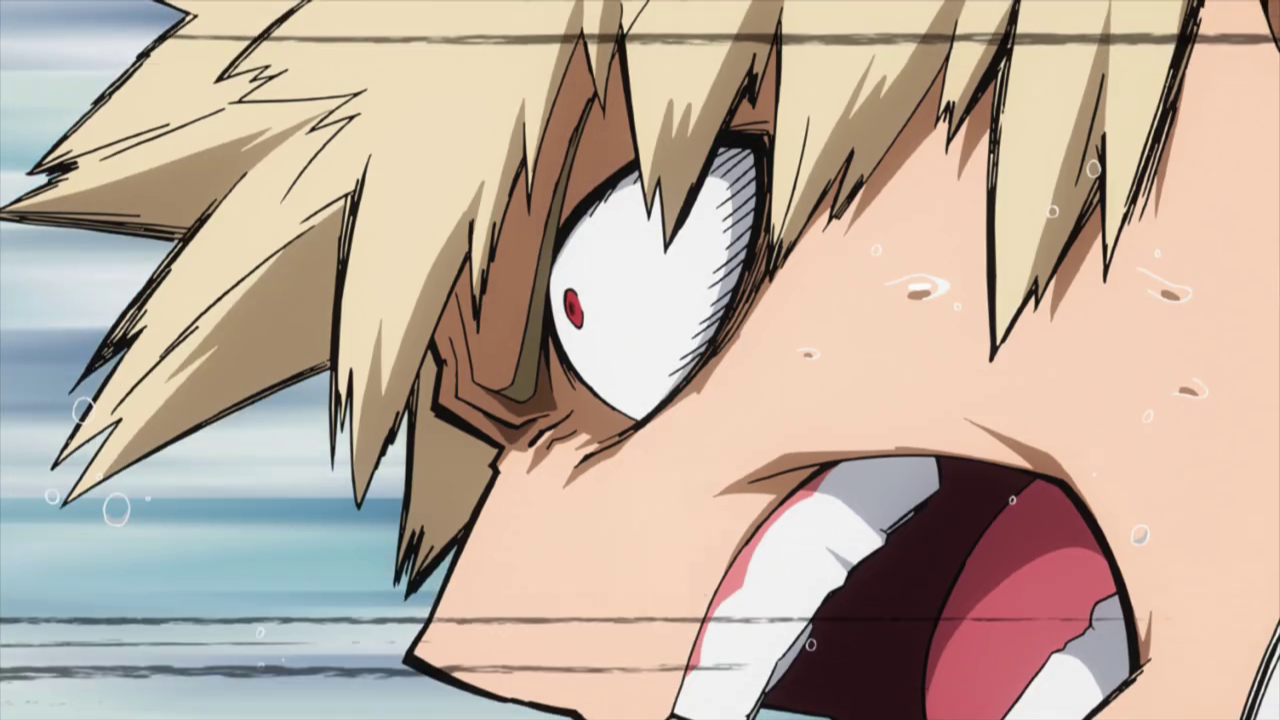
The animation in this episode was simply excellent. Iida’s recipro burst mentioned earlier managed to steal the spotlight, but this episode had much more to offer. 22 years old Kosuke Kato returned to deliver yet another scene full of Kanada-style goodness. In the generation full of digital animators, Kato stands out as one of very few animators drawing on paper and following the master of exaggerated motion and effects. The clash between Deku and Todoroki featured very impressive fire animation as well. Considering how much focus Todoroki’s left arm gets, I’m positive that they’re aware of how important these flames are for his upcoming character arc. Hopefully the fire itself won’t get butchered by the broadcast dimming! The key animators seem to have lots of fun with Bakugo‘s animation in general too, since his quite literally explosive personality and downright assholism let them go wild. This short yelling cut looks so much like Umakoshi’s own animation that I wouldn’t be surprised if somebody told me he drew it himself uncredited. But you know who animators seem to love even more? Present Mic. His outburst and crazy moves are always full of life and really fun to watch.
Next episode seems to take a break from the sport festival’s competitions and will be outsourced. I think I’ll cover it together with episode 20 in two weeks – see you then!
Support us on Patreon for more analysis, translations, staff insight and industry news, and so that we can keep affording the increasing costs of this adventure. Thanks to everyone who’s allowed us to keep on expanding the site’s scope!